Unleash Your Inner DIY Decor Diva. Seriously – in the way that growing your own food is satisfying, gratifying and entirely achievable, so is DIY decor. Go ahead, give this one a try. Ashley from Fehrly Crafty Creations has joined us again for this awesome tutorial she put together for you. This ruffly burlap wreath is just the craft you’re looking for.
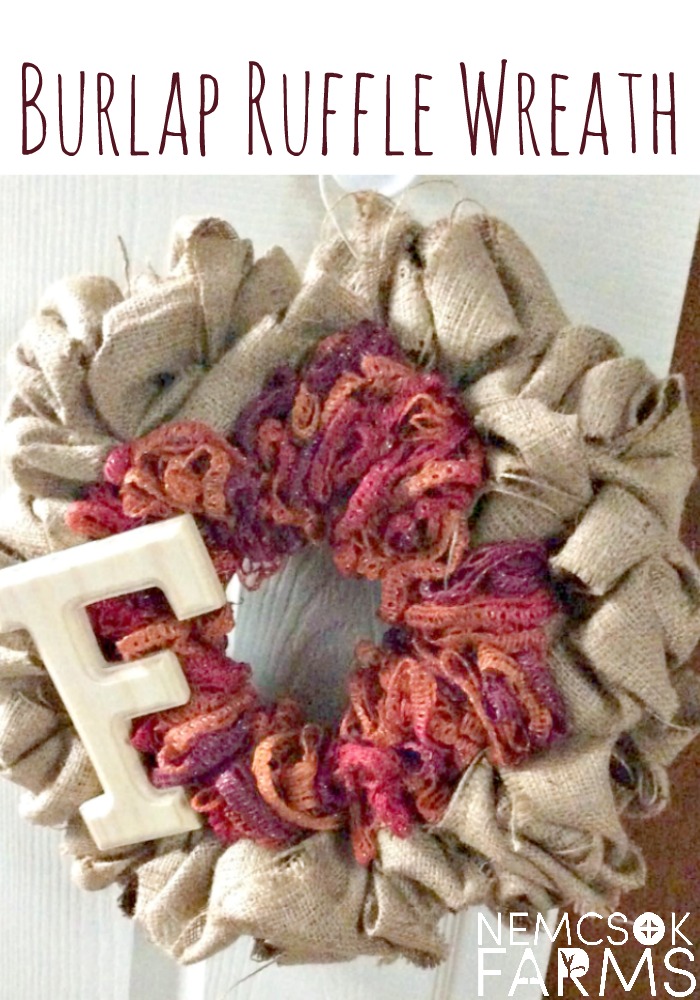
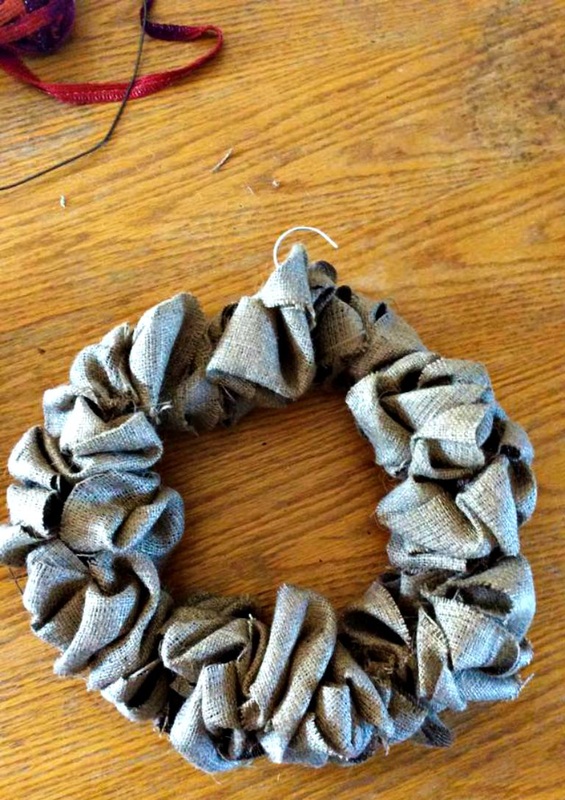
Burlap Wreath
The ruffly ring ( or rings ) in the center is what makes this wreath unique, and 100% personalized. Use your favourite colours of yarn, or any other strips of fabric that are lacy, or fine. Enjoy!
Materials
-Burlap (I used 1 large bag, but a roll is handier)
-Sashay yarn (I used 1 roll, but if you want a fuller middle wreath, use 2)
-2 wire coat hangers
-Scissors and Wire Cutters
-4 small zip ties
-Embellishments
-Sashay yarn (I used 1 roll, but if you want a fuller middle wreath, use 2)
-2 wire coat hangers
-Scissors and Wire Cutters
-4 small zip ties
-Embellishments
You may happen to have most of these things on hand, and if not all would be available at any craft or even dollar store.
Directions
- Unwind your coat hangers and bend into a circle. Make one slightly smaller than the other.
I did this by hand, but to make the rounding of the wire easier you can use a large pot to bend the wire around. - This step depends on which kind of burlap you have, if you have a roll – you can skip this step.We used a burlap bag from my local hardware store. Cut the burlap into strips approx. 4″ wide.
- On the larger circle thread burlap onto coat hanger alternating each side of the burlap which It makes it bunch nicely. I used all 9 strips of burlap cut from my bag.
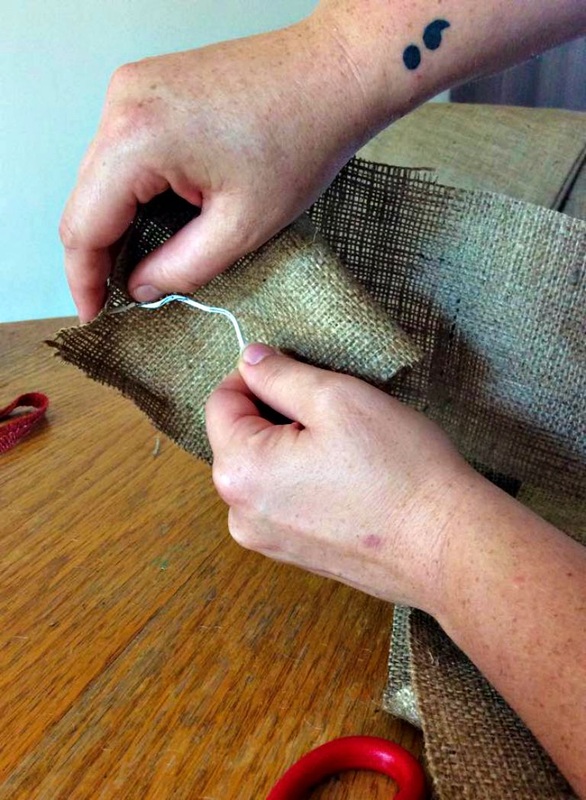
- Trim extra pieces of burlap that may be sticking out if necessary.
- Twist hanger back together leaving the hook.
- Using the smaller circle, thread the Sashay yarn onto the hanger. I used every few holes.
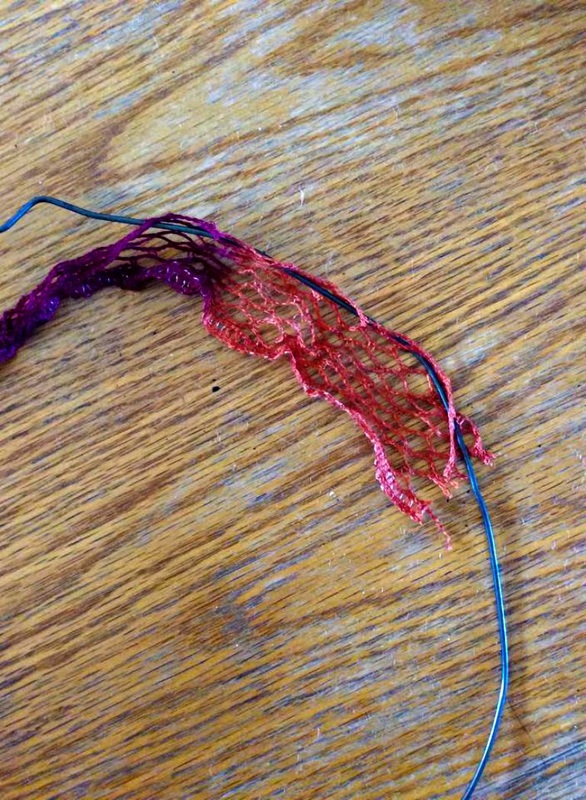
- Twist wire together to form a circle. Trim the long wire meds with wire cutters. Then pull the material to cover the entire circle. Tip: if you’d like a fuller circle, use another ball of wool. I used 1. You now have both portions done. I made the larger wreath burlap, you can do the opposite and it would look great too.
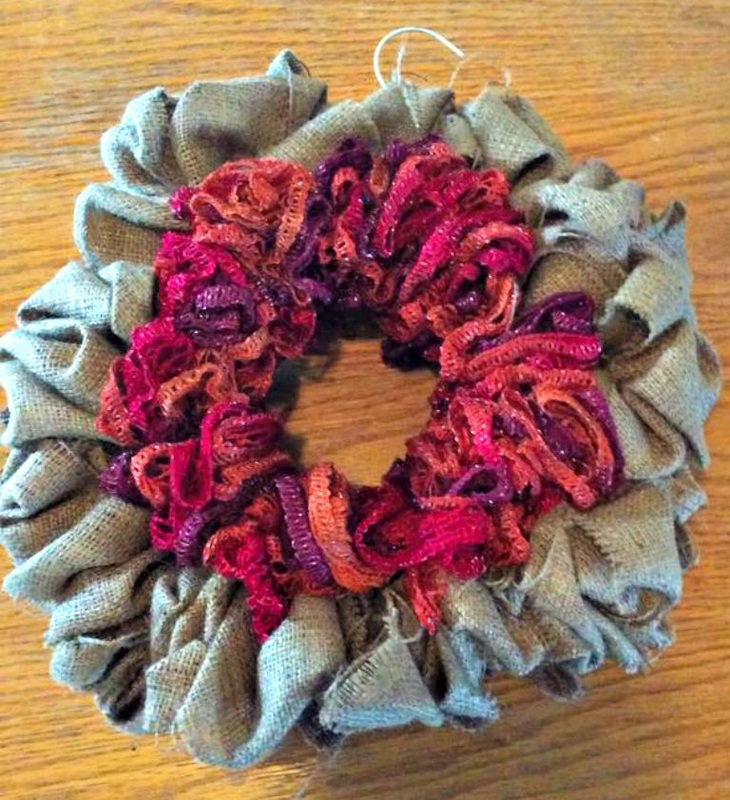
- Place the smaller circle inside the larger one. Expose the coat hangers and zip tie them together. I attached in 4 spots evenly around the wreath. Cut the long piece of zip tie and bunch materials up to hide it. Tip: don’t pull the zip ties too tight. You can deform your wreath. You just need enough to keep the circles together.

- Fluff and rearrange your materials to look even
Done! Now add any embellishments you’d like to personalize it with.
Looking for more great DIY projects?
DIY is so rewarding! After finishing your ruffly burlap wreath, try your hand at making this fun Mother’s Day Bath Pouf or make a little something for yourself with a new set of wavy washcloths! Your kids might like a new pom pom hat or a cuffed neck warmer. Don’t limit yourself! There are plenty of step by step pictures and tutorials in these posts.